All Categories
Featured
Table of Contents
Rinnai Outdoor Radiant Electric Heater - G Store Can Be Fun For Anyone
A little number of exterior heaters are fitted with incorporated heating controls, such as a warm dimmer button or a dial to switch over between heat settings. In spite of their name, these heating units are frequently made entirely for usage in indoor or covered locations.
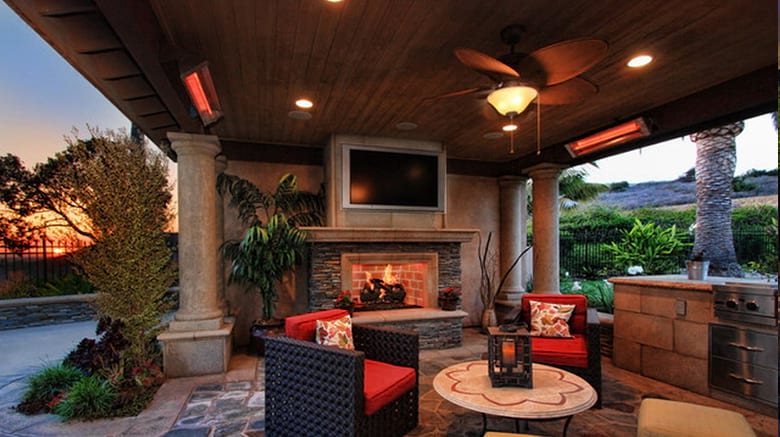
Delight in pleasant exterior enjoyable all year long from a crisp fall evening to the coldest of winter season nights. No matter how big or tiny your exterior enjoyable area we've obtained the suitable outdoor area heater to keep your guests toasty warm and keep the event going much longer.
For wall mounting, the most affordable part of the heating unit need to be located at or over a minimum height of 1. 8m from ground level, so that the heating system can not be touched when in procedure. Constantly install flat as well as do not position the heating system at an angle of more than 90 as well as less than 45 The heating system should constantly have a minimum clearance of 0.
The Best Strategy To Use For Sunburst Mini Outdoor Electric Infrared Radiant Strip Heater ...

The heater needs to be installed on the installing brackets supplied. Fasten the heating system safely on the braces making use of the nuts as well as screws provided. The brackets can be made use of to readjust the instructions of the heating system. Readjust the heating unit angle by loosening the two bolts on the wall mounting bracket. Tighten the bolts once more when the preferred angle is gotten to.
Table of Contents
Latest Posts
Some Ideas on The Best Patio Heaters Of 2023 - Reviewed - Usa Today You Need To Know
Which Brand Of Tucker Charcoal Deluxe Pro Built-in Bbq Is The Best? in 2023
Some Ideas on How To Prepare Your Bbq For The First Use You Need To Know
More
Latest Posts
Some Ideas on The Best Patio Heaters Of 2023 - Reviewed - Usa Today You Need To Know
Which Brand Of Tucker Charcoal Deluxe Pro Built-in Bbq Is The Best? in 2023
Some Ideas on How To Prepare Your Bbq For The First Use You Need To Know